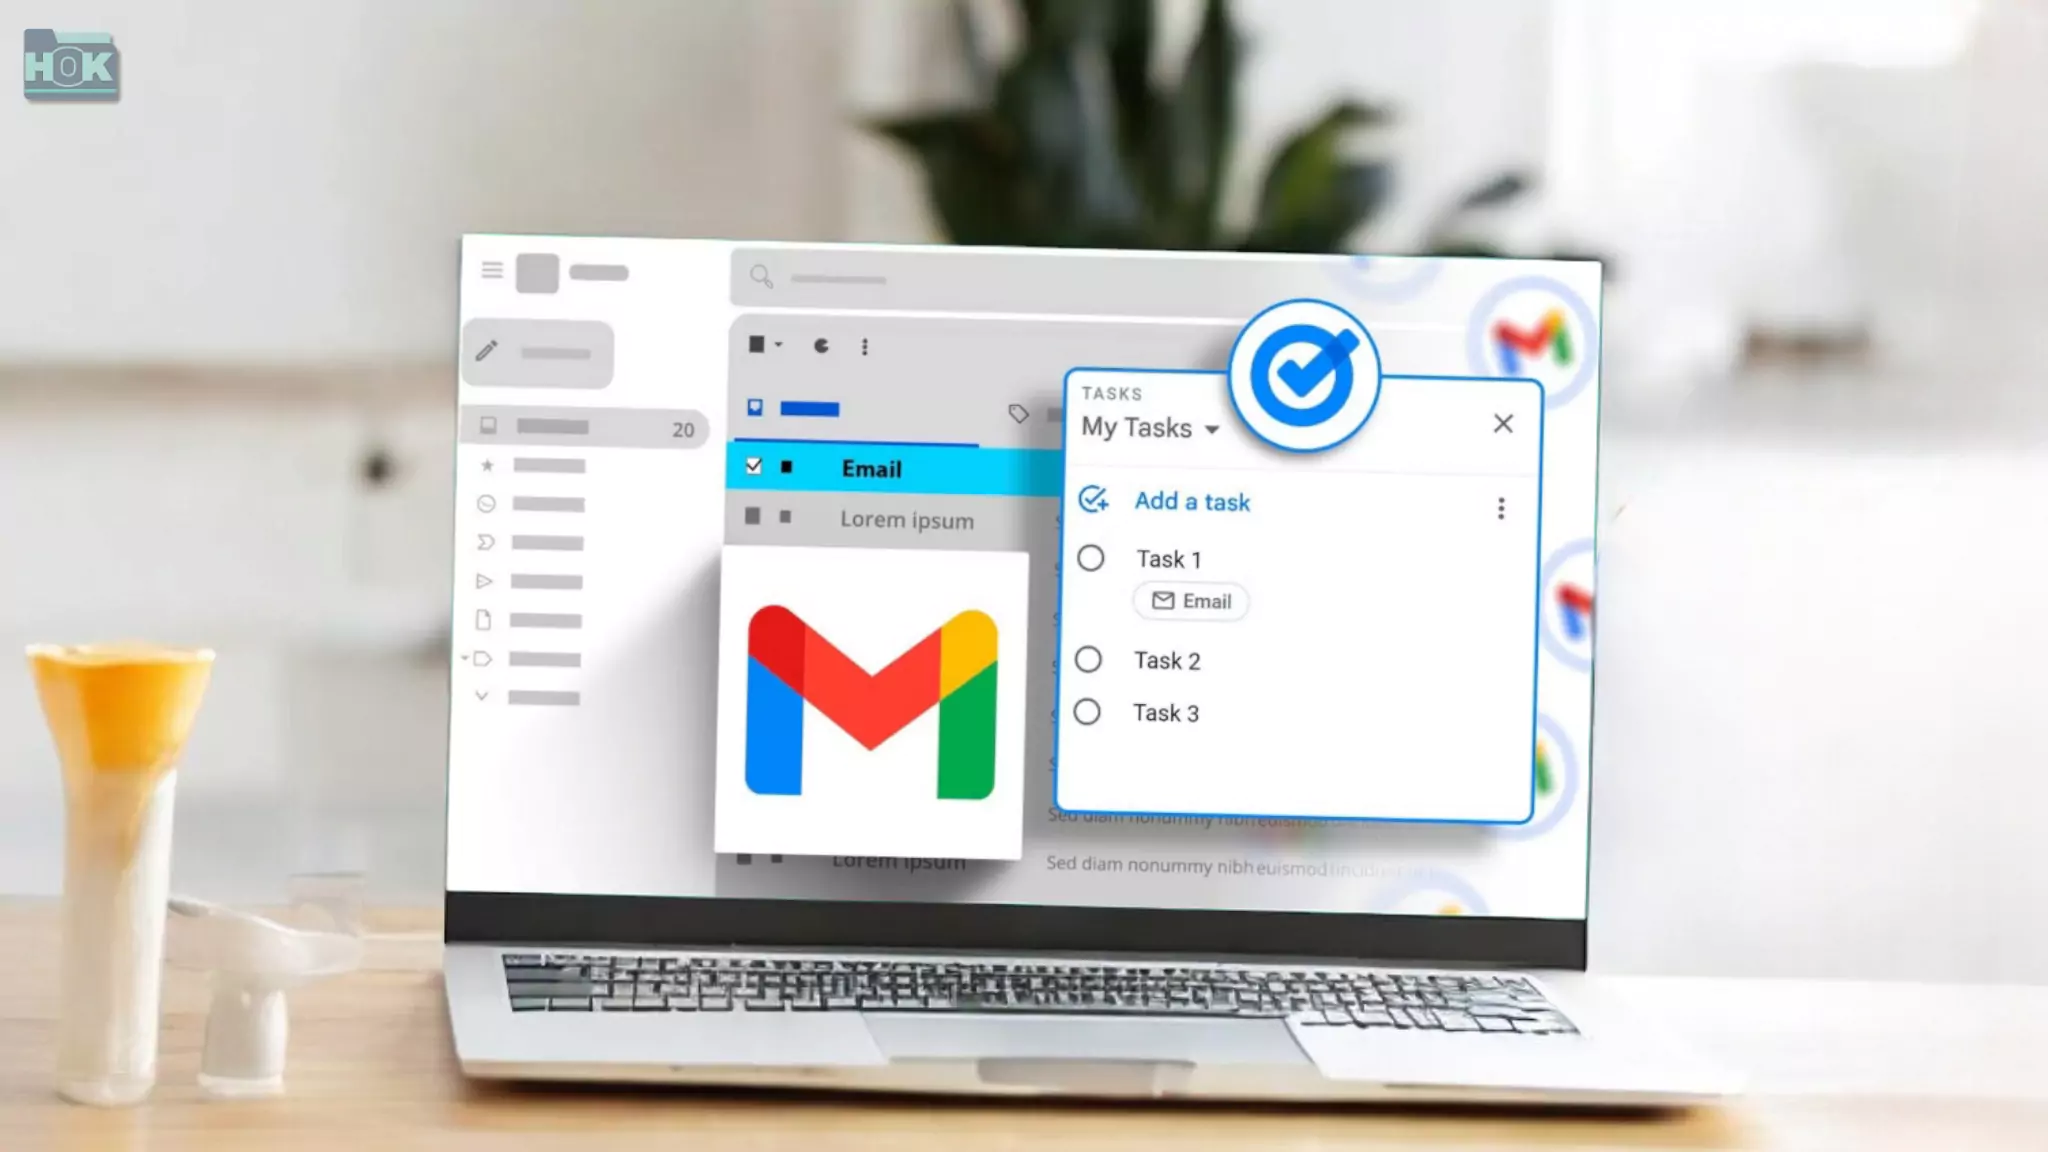
How do you turn emails into tasks using Gmail’s to-do list feature? What are the benefits of turning emails into tasks using Gmail’s to-do list feature? This article will explore how to effectively use Gmail’s to-do list feature and create actionable email tasks. We’ll cover simple steps like using the “Add to Task” button, the “More” menu, and dragging and dropping.
In addition, we’ll discuss the many benefits of this method, including better organization, increased productivity, and focus on priorities. With Gmail’s to-do list, you can streamline your workflow, reduce inbox clutter, and keep important email-related tasks from slipping through your fingers.
Overwhelmed by your inbox? Gmail Tasks lets you turn important emails into to-dos and helps you stay on top of your priorities. It’s a simple way to stay organized and never miss a thing.

Transform Emails into Actionable Tasks with Gmail
How can Gmail Tasks help you manage and organize your email more effectively? Gmail Tasks lets you turn important emails into actionable tasks, making it easier to stay accountable and prioritize tasks. How it helps you declutter your inbox:
- Turn emails into tasks: When you find an important email that needs to be followed up or taken action, you can add it directly to Gmail Tasks. That way, you won’t miss it and it’ll be on your to-do list.
- Stay organized: With Tasks built into Gmail, you can quickly review your list, set due dates, and easily manage tasks. This integration keeps everything in one place, so you don’t have to switch between apps.
- Prioritize better: You can prioritize your pending tasks and prioritize the most urgent ones first.
- Focus: Turning emails into tasks will give you a clearer idea of what you need to pay attention to and help you avoid missing any important steps or actions that might be hidden in a long email thread.
How Can Adding Emails to Tasks Help You Stay Organized in Gmail?
Turning emails into tasks is a game-changer for managing your workload. Instead of having to sift through your inbox and to-do list, you can consolidate them into one system. Think about all the emails you need to follow up on, deadlines, or meetings to prepare for. They can quickly get lost in the chaos of a full inbox.
By adding them to your tasks, you create a clear plan of action. Gmail Tasks not only keeps everything organized, but also lets you set priorities, add reminders, and sync with your calendar. This means you can stay focused, manage your time better, and never miss anything important. This simple feature makes your tasks less stressful and more efficient. Converting emails to Gmail Tasks can be a huge boost to your productivity and organization. Here are some of the key benefits:
Centralized workflow
Instead of having to switch between separate to-do lists and your inbox, you have one central place to do everything you can. This eliminates the need to constantly switch between apps and reduces the risk of forgetting important tasks hidden in emails.
Improved focus and prioritization
By converting emails to tasks, you can easily prioritize them. You can set deadlines, set due dates, and even categorize tasks (e.g., “High Priority,” “Urgent,” and “Projects”). This helps you focus on what’s most important and avoid being overwhelmed by too much email.
Improved task management
Gmail Tasks gives you a dedicated space to manage your to-dos. You can easily add notes, assign subtasks, and track progress. This level of detail is often lost when you rely solely on your inbox to manage tasks.
Reduce stress and increase productivity
By streamlining your workflow and reducing the distractions of a cluttered inbox, you can reduce stress and increase your overall productivity. You’ll spend less time searching for important information and more time completing tasks.
Improve time management
You can proactively manage your time and stay on top of important deadlines by setting deadlines and reminders within Gmail Tasks. This proactive approach to time management can significantly improve your productivity and reduce the risk of missing important deadlines.
Seamless integration
The seamless integration with Gmail makes it incredibly easy to create tasks directly from your email. This eliminates the need for manual data entry and allows you to efficiently capture and track all your important activities.
How Can You Add Emails to Tasks in Gmail on Windows?
Here’s how to add an email to your tasks in Gmail on Windows:
Open Gmail and select your email
- Open your web browser and go to Gmail.
- Find and open the email you want to turn into a task.
Add an email to Tasks
Method 1: Use the “Add to Task” button:
- Look for the blue “Add to Task” button in the email header.
Click this button.
Method 2: Use the “More” menu:
- If you don’t see the “Add to Task” button, click the “More” button (three vertical dots) next to the “Reply” button.
- Select “Add to Task” from the drop-down menu.
Method 3: Drag and drop:
- Open the Tasks panel on the right side of your Gmail screen.
- Drag and drop an email from your inbox to the “Tasks” panel.
Customize the task (optional)
After you add an email as a task, you can further customize it:
- Edit title: Tap the task title and enter a new one.
- Add notes: Tap the “Add notes” field below the task title and type additional information.
- Set due date: Tap the date field and select a due date for the task.
- Add subtasks: Tap the “+” button next to the task title to create a subtask.
That’s it! The email will now appear as a task in your to-do list, helping you stay organized and on top of your to-do list.
Additional tips
- You can add multiple emails to Tasks at once by selecting them and tapping the “Add to Tasks” button.
- You can also create tasks directly in the Tasks panel without starting with an email.
- To access your tasks list, tap the Tasks icon in the Gmail sidebar.
How Do You Turn Emails into Tasks Using the Gmail App?
Adding emails to your tasks using Gmail is quick and convenient, especially when you’re on the go. Before you get started, make sure you have the Google Tasks app installed on your device. Here’s how to add tasks to Gmail:
Use the “Add to Task” button
- Open Gmail and go to the email you want to add a task to.
- Look for the blue plus button in the header of the email.
- Click it.
Use the “More” menu
- If you don’t see the “Add to Task” button, click the “More” button (three vertical dots) next to the “Reply” button.
- Select “Add to Task” from the drop-down menu.
Drag and drop
- Open the Tasks panel on the right side of your Gmail screen.
- Drag and drop an email from your inbox to the Tasks panel.
Customize your task
- Edit title: Click on the task title and enter a new one.
- Add notes: Click on the Add notes field below the task title to enter additional information.
- Set due date: Click on the date field and select a due date for the task.
- Add subtask: Click the “+” button next to the task title to create a subtask.
To access your task list
- Click on the Tasks icon in the Gmail sidebar to see your list of tasks.
Additional tips
- You can add multiple emails at once by selecting them from Tasks and clicking the “Add to Task” button.
- You can also create tasks directly in the Tasks panel without sending an email.
Tips for Being Productive with Gmail and Google Tasks
Using Gmail and Google Tasks together can be a powerful way to stay organized, but a few additional tips can make it even better. Start by setting reminders for tasks with due dates to avoid last-minute cramming. Reviewing your to-do list daily will help you prioritize and tackle the most important items.
Take advantage of Google Calendar integration to see other events and tasks with deadlines. This will give you a complete view of your schedule. It also breaks down large tasks in the Tasks app into smaller, more manageable steps, making them less overwhelming.


